 |
| I love these shiny Czech Glass Druk Round Beads in Siam Red! Add clear crackle Czech pressed glass beads for sparkle. Then mix in Jade Serpentine and Czech Glass Fluted Cathedral Beads in Periodot for touches of light green. Sterling silver snowflake charm is in upper left. |
The beads I started with are shown above. What happened is,... I had strung a holiday bracelet on Soft Flex beading wire (a stainless steel nylon coated wire). (I REALLY hate to admit this to you much more advanced jewelry-makers, but I thought I was doing pretty well having given up elastic for the Soft Flex! After all, I was using sterling silver crimp beads and crimp bead covers, and making my clasps from hammered wire by hand.)
Then, several things happened at once.
- I liked the combination and rather crazy pattern (there was no pattern) of the beads, and the small sterling silver snowflake charm I had purchased for the bracelet. (I don't usually use charms.) But when I finished, I just wasn't happy with how the charm looked. I had included it on the Soft Flex like it was a bead and it was too tight. No movement, no good! I decided to take it apart and redo it! (I generally hate re-dos, but this bracelet screamed for one!)
- I had recently been looking at the "Bead Soup Blog Party" results and had seen some wonderfully creative jewelry...and decided mine didn't look much like these.
- I read about the entry requirements for the the "Monthly Challenges" on the Art Bead Scene Blog and realized that none of my pieces would qualify.
I knew I had to start expanding what I was doing and being much more creative. I didn't have an art bead* for this piece, but I could redo the bracelet using twisted wire techniques rather than Wire Flex. At least I could do that. So I began again. (I have done this sort of thing before, just not in a while. So, not a problem...)

I placed several beads on the wire, then made loops on both ends, fastening together the chains. (There's a problem developing... Do you see the problem yet?!)
If you guessed that this might happen, then you'd be right!

Geez! I had made the pieces too big and now I had a super clunky, uncomfortable piece that wouldn't lay nicely against an arm. Should I dismantle it again? And waste all that wire?!

I decided that with more links, I could make a necklace from it, and that it would hang much more smoothly that way! This also gave me a chance to repeat the colors of the beads a second time, so that while not an identical, symmetrical pattern on each side (which I wasn't aiming for anyway), the necklace did have some sort of color balance. Using a larger green gemstone and wire, I made a simple clasp for the back.

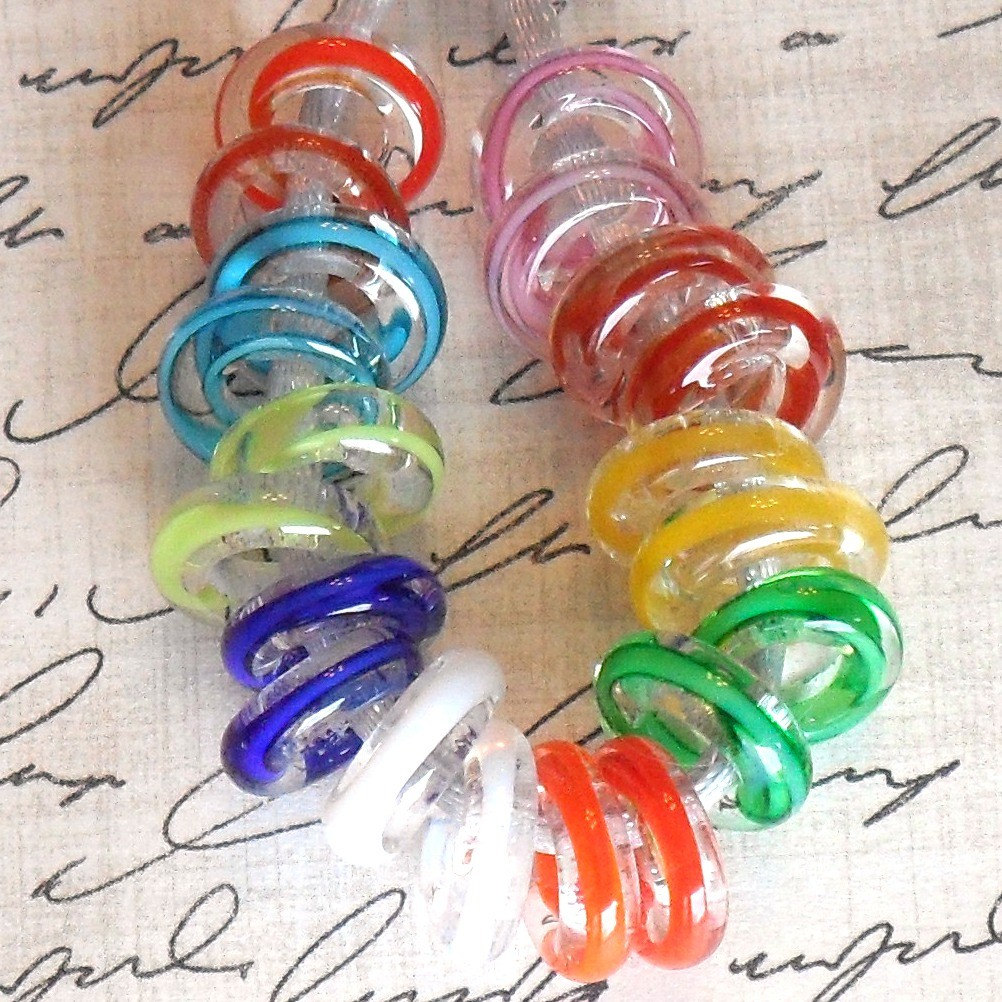
When I finished with the chain, I decided I needed to draw more attention to the snowflake charm, which seemed a bit small now, so I added some beads, including one of the red "Funky Rainbow Ribbon Beads" I bought recently from TracyBell. (I may have managed to get an art bead in there after all--though a very tiny one!) This dangling piece help to focus attention on the snowflake again.

I felt that the piece was finally much improved! My work was complete! Well, almost...


It's not a masterpiece, but I'm much happier with the results! (And in only 3 tries! Baby steps...I'll get there in baby steps!)
Wish me luck! And good luck on whatever you are working on too! Hope you have a good day!
--Sharyl
----------------------------------------------------------------------------------------------------------------------------
*Definition of an Art Bead: "An art bead is a bead, charm, button or finding made by an independent artist. Art beads are the vision and handiwork of an individual artist." From "Art Bead Scene" Blog. Full explanation and examples can be found here: "Wikibeadia: defining the world of art beads," Art Bead Scene Blog, March 20, 2007.
Dollar bill image: http://www.wpclipart.com/money/bills/bill_small.jpg
All jewelry and photographs by Sharyl, 2011.
3 comments:
Just as soon as I say something, I put my foot in my mouth! First, I want to clarify that I was not meaning to say that using elastic or SoftFlex is not the thing to do. Frankly, I still love my bracelets made out of both of these materials. They are very comfortable--those of us who work at computers a lot really appreciate that feature--and the elastic (in particular) is quick and easy to put on in a hurry! (I'm always running late so I like that too!)
I've always worried about selling bracelets on elastic just because I picture one bursting with beads going all over the floor, even though that's never happened with one after I made it--only during the process of making!
Second, I just noticed tonight that while I've only seen and used the basic original gray, SoftFlex has come out with its product in trios of colors that look very fun! I've also seen people put seed beads over the part of the SoftFlex that shows and that seems to work well also. So there are many cool things to be done with these products! I was just trying to say that I thought I needed to push myself to try something new. Hope I caused no offense.
Best wishes and happy jewelry-making!
I think you did a great job. Redoing jewelry is so tough -- you put in time, and time is money, but you know what? You will always be happier (I think) redoing something you feel needs it rather than letting it bug you.
One thing to do if you had wanted to keep the bracelet with the charm -- I connect a few small jump rings to my charms before stringing them so they have movement, as well as leaving the tiniest bit of space between the crimp and the last bead. That way you don't end up with a stiff bracelet.
Thanks for your suggestion, Lori! If only I could have redone that part easily without taking the entire bracelet apart!
NEXT TIME I make a bracelet, I will plan on making it that way in advance! Thanks for the helpful tip!
Post a Comment