Wednesday, August 10, 2011

Copper Wire--Perfect for Fall!

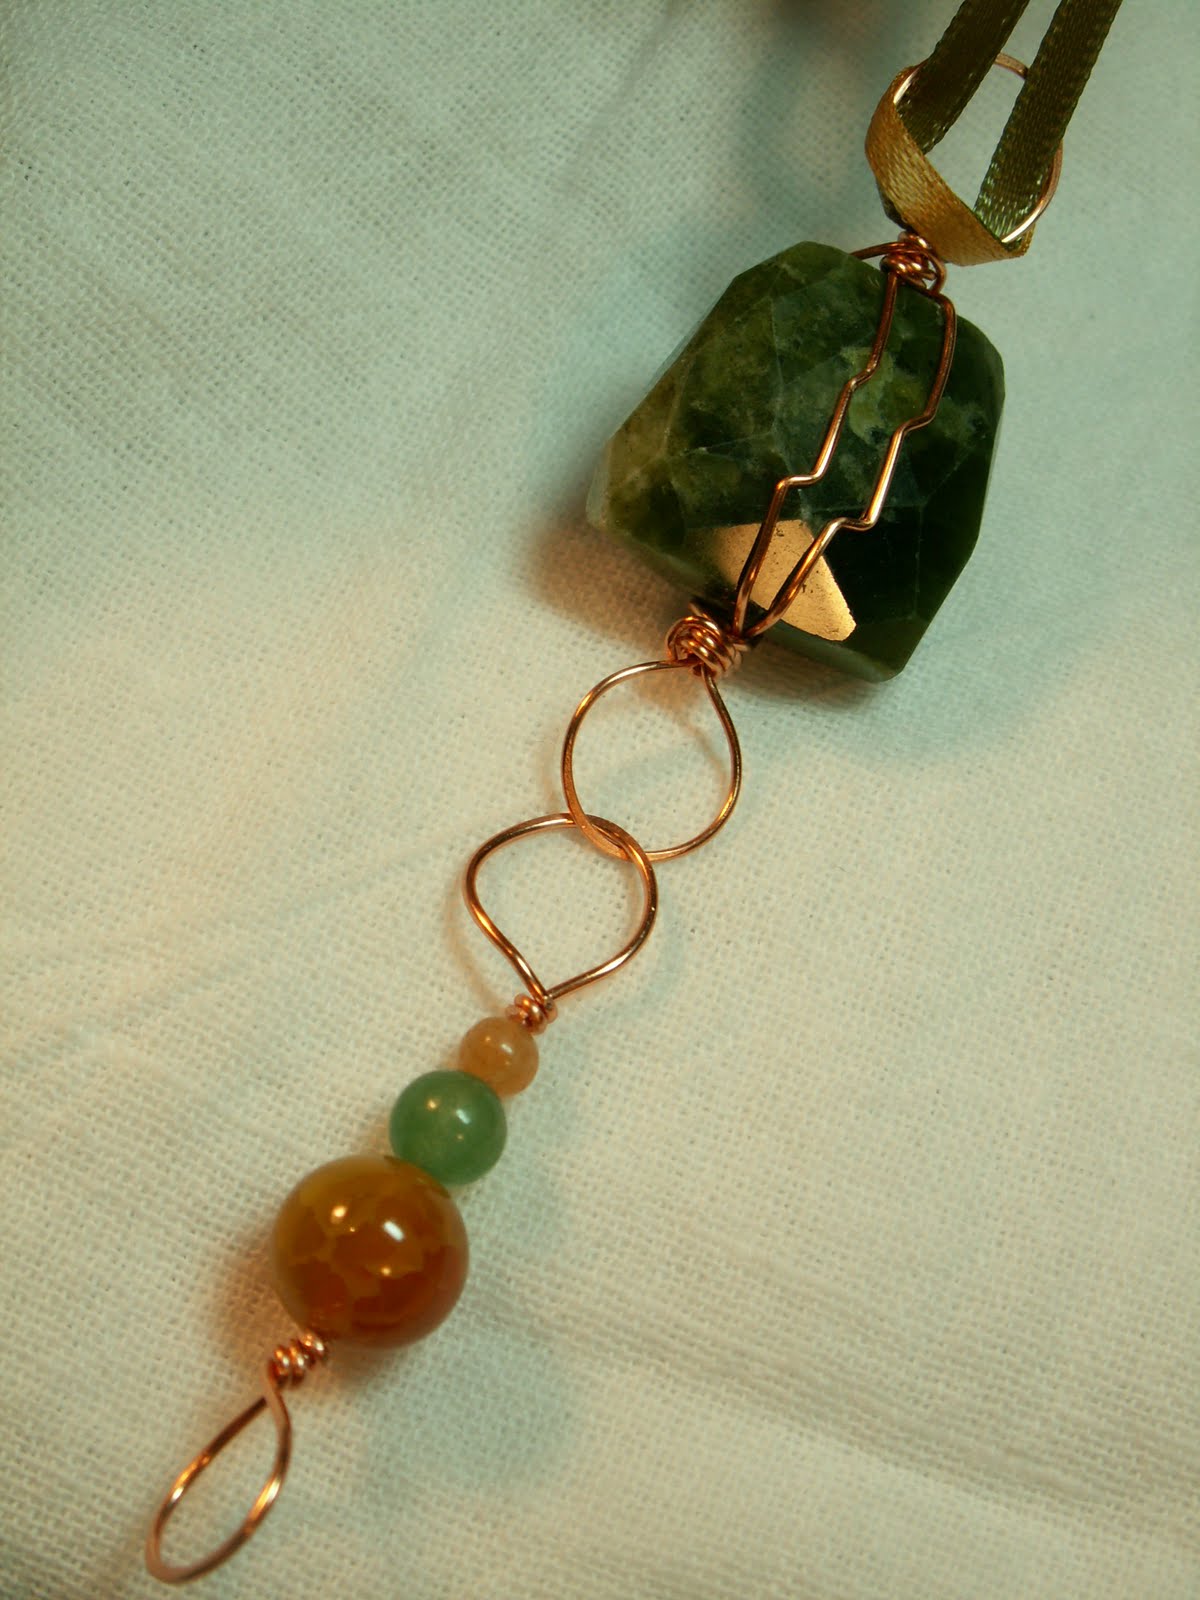
I love silver jewelry, but after years of working with silver based wire only, I recently tried some colored wire--first a soft pink color over copper wire to go with a smooth pink-colored stone I had found.   I liked it so much, I bought some aqua wire.   Played with that just a bit, but not much yet.  Maybe next Spring.


Then came the copper--


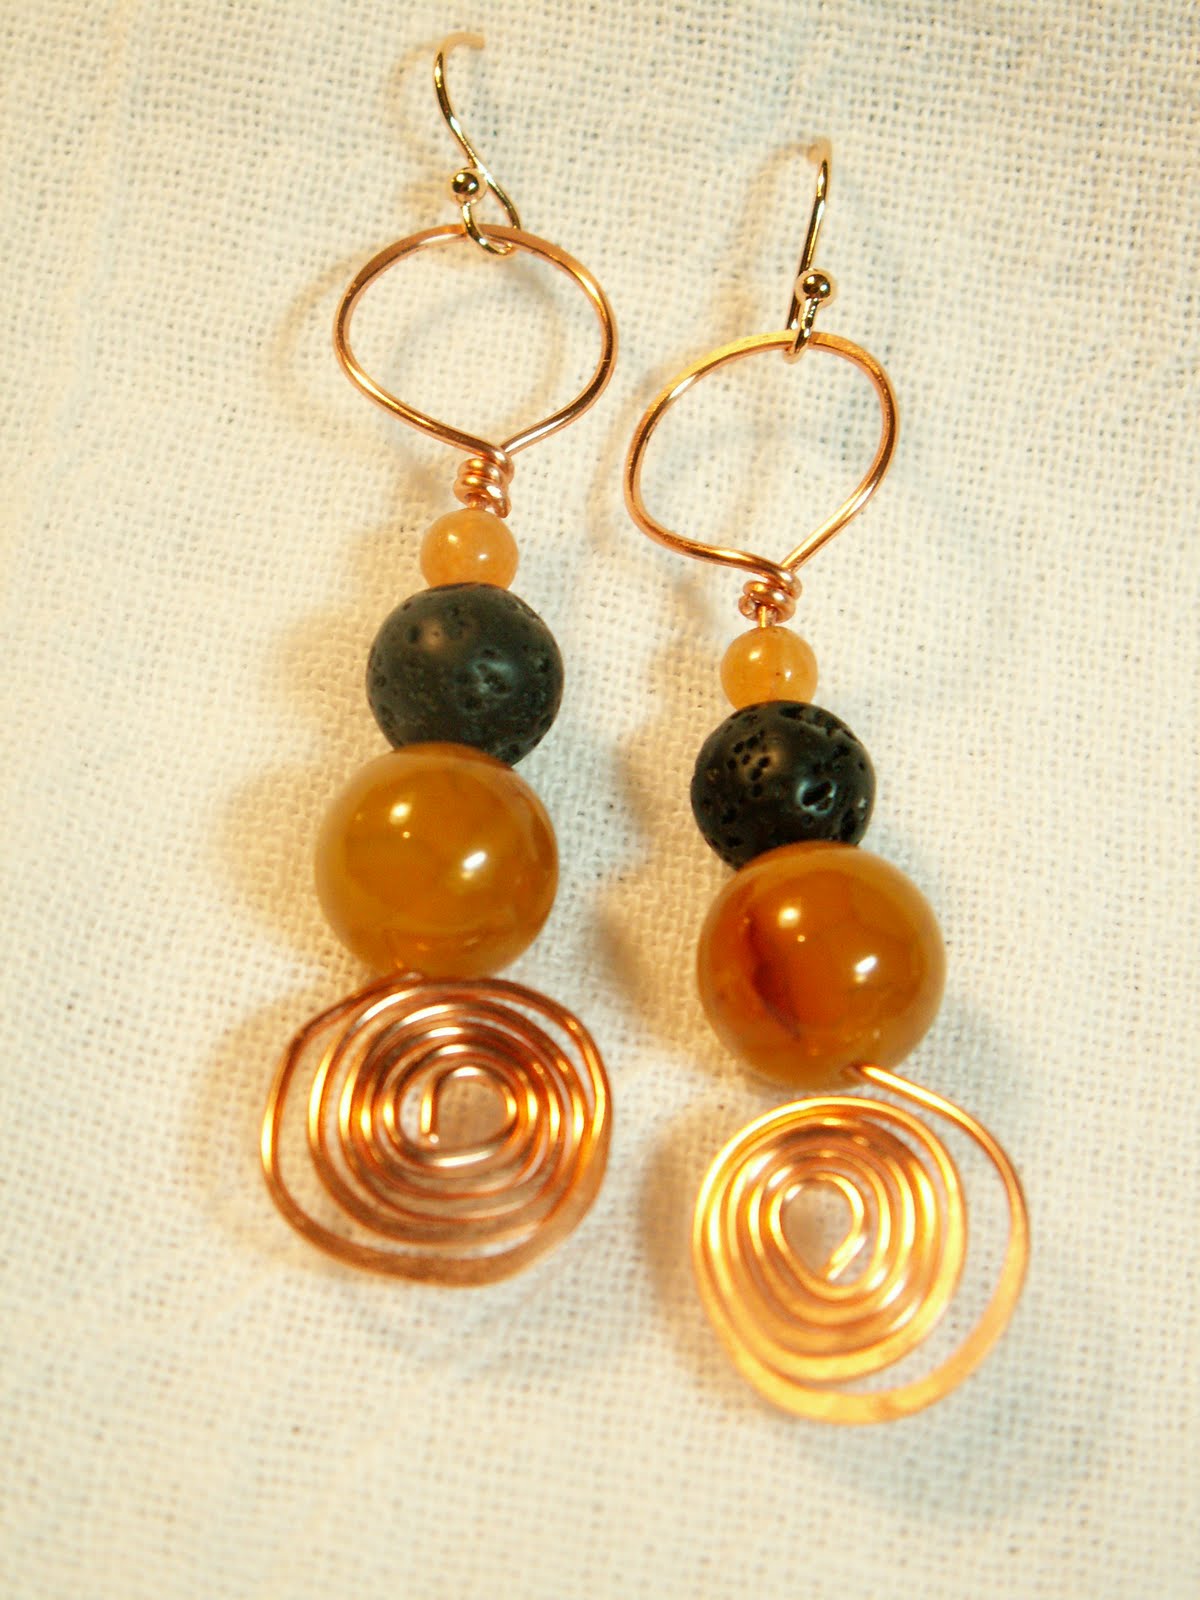
And it seemed to go perfectly with the fall colored stones and beads I was working with (amber, orange, jade, amethyst, black carved wood and lava rock, deep greens).   Of course the nice thing about copper wire (rather than the colored wire) is that you can hammer it to harden without fear of the copper color coming through because it's copper all the way through! 


I'm usually nervous about the earring piece content, but found some nice Rose Gold over copper ear wires in a brand I like and the color matched the copper wire very well.   Problem solved.


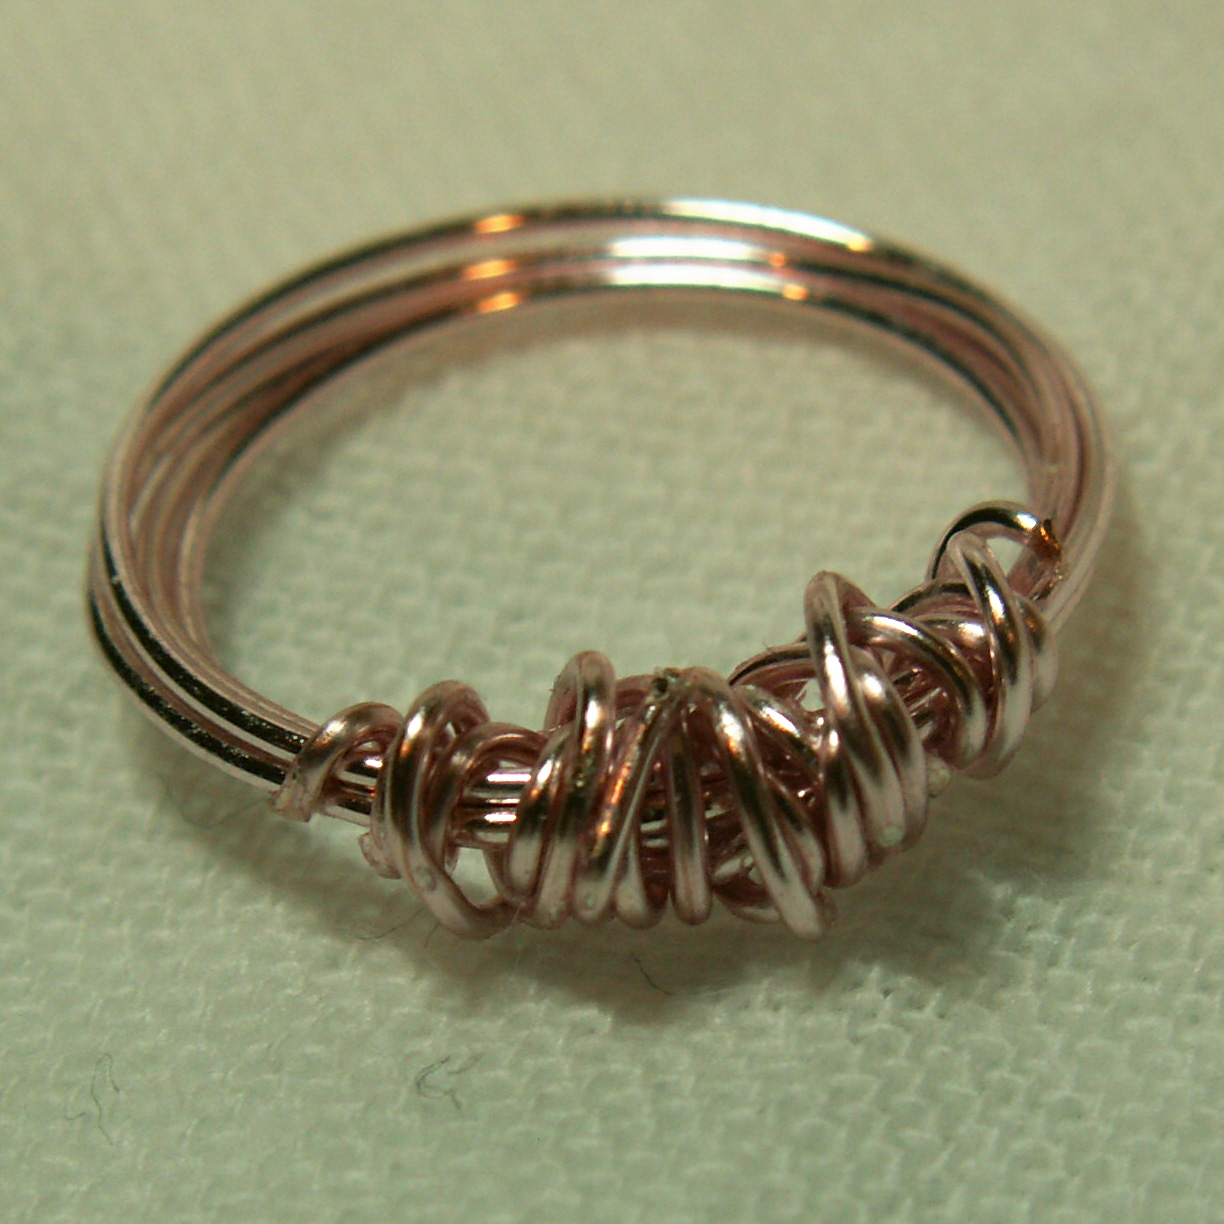
Even copper by itself makes a nice piece of jewelry, as with this very simple wrapped-wire ring.


I'm finding copper a rich color without the rich cost--and perfect for Fall!


Be sure to check out more Fall jewelry on the 2011 Fall-Preview Sale page above.   There are stones the many colors of nature in Autumn complemented with copper and silver wire. Enjoy the season!   --Sharyl


Sharyl's Jewelry

Monday, August 8, 2011

New fun with rings...and wire of many colors!

After many years of wishing, and work-arounds, I finally purchased a solid steel ring-mandrel... 


and went to work wire-wrapping rings.   What joy!


I started with silver wire, as I typically use, then ventured out a bit...


I decided to try color wire.  These two rings  represent my first attempts working with color-over-copper wire.  The rose-color added a bit of fun and flair to the pieces, so I began experimenting with more with colors!   (It was sort of like I had been coloring with just one crayon for years and suddenly had a new box full of colors!  

Once I got started,  I had to try several new colors.   I was having too much fun!


So next I tried mixing silver with an aqua-colored wire.   Then came copper...  (some without beads, some with)...


and then... back to silver again, which will always be my true favorite!


Now I'll have to find a place for rings on my website.   (What a nice problem to have!)

Whether it's a new tool, a new color, a new technique, or whatever new thing you want to try, happy experimenting!  Please let us know how it goes!
--Sharyl


----------------------------------------------

P.S.  We have a new follower--Krista!  

So very glad to have you join us!   

--Sharyl


Friday, August 5, 2011

Tools - "Making do" while you build your jewelry tool collection

There are some tools you absolutely need to make beaded and wire jewelry (one or more pairs of pliers to hold and bend wire; something to cut wire with; an item you can wrap wire around to make consistent size loops, and a place to store tools, wire, and beading). However, you don't need to go out and buy a complete set of tools on your first day of jewelry-making. Quite the opposite. Many house-hold items can be used to substitute for certain tools until the day you find you need the professional tool on a regular basis and can take time to research the price and quality options of tools being sold.

I started with one pair of pliers, a special gift from one who knew how much they would mean to me. Everything else has built from there. Which brings me to where I am today...

Jewelry-making tools I now can't imagine being without...
...even though I began with only the pair of pliers in the upper-left corner!

Left:  Pliers I use to hold and wrap wire.                                  

Right:  Pliers helpful for wrapping wire in circular shapes.


Left: Used for crimp beads.
                                         Right: Used to straighten wire.


Left: Wire cutters.
                                             Right:  Small anvil for hammer-hardening wire.   


If you are going to use the anvil, you also need a hammer.  There are many special types, specifically for jewelry-making, but I like to tap gently with a small hammer given to me years ago by my late mother.                    
The tools above are ones I use nearly every time I make jewelry.  In addition, I have some more specialized tools that I use only on occasion.
-------------------------------------
Additional "tools" I have frequently used....
You may not expect some of these items would be used in making jewelry, but they make good substitutes for more expensive tools as you build your collection.  Below are some tools I use or have used in the past:
  • Pencils, pens, & magic markers -- These are perfect for wrapping wire and making different size loops.  I actually keep them with my other tools so they are always handy.  I look forward to getting multi-size wire looping pliers, but have to admit that these substitutes are inexpensive and easy-to-handle!

Using magic marker & writing pen to make necklace hoops.


Example of finished product.
  • Scissors -- I used scissors for years before finally obtaining a nice set of wire cutters.  I still use them for cutting the nylon coated flex wire I often use for making bracelets.  On flex wire, scissors seem to make a smoother snip with less fraying than wire cutters.
  • Chap stick containers, eye drop sample bottles, nail polish lids, etc.  (Look around your kitchen and other rooms for objects the right size) -- Any of these items can be used for wrapping wire rings.  If necessary, these will substitute for a ring mandrel. The advantage of the solid steel mandrel is that it can be hammered to harden the wire more firmly into place and to make specific ring sizes.   But in its absence, any round object the same size as your finger will work for basic wire wrapping to assure you keep the layers of wire round and consistent.                         
  • Lids to plastic storage containers-- These make great temporary work surfaces so beads don't roll off onto the floor while you plan the design and prepare to put the piece(s) together. There are nice trays you can purchase for this purpose too, but until you are ready, the lid is an easy improvement over working without one. 
  • Utensil container-- Wire or plastic containers designed for forks, knives, spoons, and napkins for picnics or parties are generally inexpensive in the summer season. This type of container works great for storing pliers, wire, and other basic hand tools, and typically costs less than the tool holders I found in craft/hobby stores.   I used to store my tools in containers with lids but was constantly rummaging for the one I wanted.  With them on display on the rack, they are easy to find and grab.   (I keep the more pointed tools toward the middle of the row to prevent hitting a sharp object when I pick up my container to move it.)    
  • Metal fingernail file-- In place of a jewelry file, this works well for smoothing rough wire edges.  In fact, I find this file works better, easier and faster, and at a fraction of the cost, than the special cup bur tool I purchased for this purpose.  
----------------------------------------------
Wish Lists:
As long as we are engaged in what we are doing, I suspect we'll find "one more tool" we'll want to try out!   While I have upgraded some of the tools on the "make do" list, and hope to upgrade others, there are some I'm perfectly content to use as I've described.  Either way, it's nice to have some options so you can build your tool collection over time.   Tools are an investment so it's helpful if you can purchase one or two at a time as funds allow and you see how your interest in jewelry-making grows.
----------------------------------------------
For a look at what you can do with some of the tools described above, visit Sharyl's Jewelry.

Sunday, July 31, 2011

Hand-crafted Jewelry: The many ways of learning

  • A select few people are fortunate enough to learn the art and craft of jewelry-making by being enrolled full-time in university art design programs or attending art institutes. Nothing can quite compare with intensive study with master artisans. 
  • Some students enroll in credit classes through local community colleges where they can take one class or many and be instructed by art professors and professionals. 
  • Still others attend workshops at community centers and jewelry/craft stores. These also provide wonderful opportunities to learn fine design and jewelry-making skills.
However, if these don’t fit your schedule, budget, or life-plan at the moment, don't give up. 
There are many opportunities to learn!


1) Your local public library is likely to have many books on jewelry making.   There are books that discuss tools, materials, techniques, jewelry design, and sample ideas.   There are also books on how to start a jewelry business, how to price jewelry, sell and market your items, and tax-related information should starting a business later become an interest.  Most libraries will have a catalog on their website where you can search for items by keyword, subject, title, or author; or you can consult your local librarian for assistance.
                                   
Scrolling and flattening are two wire-working techniques  
that can be found described and illustrated in jewelry-making books.

2) The Internet can be helpful in many ways:  
  • You can search www.google.com or another search engine to find more information on your particular topic of interest.    
  • In addition, many publishers and booksellers also advertise their books online, some even showing excerpts from the books.   (Amazon.com is a good source for this.)
a) If you find books advertised that seem interesting, you can see if your library has the books for checkout or if they can borrow copies from other libraries for you through their Interlibrary Loan service.  
b) Of course you can also purchase some of your favorite books from a local or online bookstore if you want a copy to keep, knowing it will be a good, long-term investment for your collection.
  • You'll also find "YouTube" on the web—a tremendous free online collection of uploaded videos. Go to www.YouTube.com then type in the topic of interest, such as:   “wire wrapping crystals,” and you will find short videos demonstrating that technique.   Watch one, watch several!
Wire-wrapped quartz crystal necklace.  
3) Bead Stores are not only a great place to shop, and to take classes, but also to visit with the knowledgeable staff people who work there.   They can answer all sorts of questions about what materials or wire gauge you might want for a project, how to use certain tools, what stones or crystals you are viewing, and when you might want to save on one product and splurge on another.  


These are all inexpensive options for getting started learning to make hand-crafted jewelry and continuing to advance your skills.  In addition to fitting any budget, you can do most of them on your own time schedule.   

If you are truly interested, there are many ways to learn!


------------------------------------------------------------------------------------------------

My special thanks to:
  • The Johnson County Library, KS, for helping me learn much of what I know about jewelry making, the jewelry business, and related topics by providing me ongoing access to a wonderful collection!  Thank you for transferring books from one branch to another, and purchasing or ordering from outside libraries when necessary, so that I could have what I needed to learn and to start and grow my business!  From my local Shawnee branch to the couriers, from Collections to Interlibrary Loan, you have my thanks!
  • The staff at Heartland Bead Market in Old Town Lenexa, KS, and The Bead Shop, Overland Park, KS.  You have been helpful and taken the time to look up minerals for me, taught me about types of wire and bracelet stringing materials, how to finish a piece of jewelry so that it looks "finished," helped me select the best materials for projects, and--above all--have always been friendly and kind.   It makes going there a special treat!

--------------------------------------------------------------------------------


To see more samples of hand-crafted jewelry, please visit Sharyl's Jewelry at www.sharylsjewelry.com.

Friday, July 29, 2011

"Pretty in black"

The "LBD," (little black dress), is a classic fashion staple.   I used to own one...or two... back in the days when I needed to do a bit of dressing up.   But mostly, I've enjoyed the color black in other ways, in my early twenties--long black skirts with black or white shirts (think Victorian or prairie style).   Later, it became a quick work favorite--mix and match anything and everything with a black skirt or pair of slacks, throw on a jacket, and ready to go!   Now that I work from home, it's often a black top or sweater over a pair of jeans.   Very simple.   If I want to "dress up," I put on black shoes or boots and a black belt and figure I'm really good to go!  


Black jewelry also makes a nice accessory and goes with all sorts of colors, from more black, to gray, white, and many bright and bold colors!   It can be "classy" or "sassy and fun!"   So here's to the color black!
Black with a bit of silver.


Black with a bit of color.


Culturally-inspired designs utilizing black. 


I find black can "stir things up" and make a statement or it can be calming and relaxing depending on the piece and how it is designed.   It can be subtle or call attention to itself.   There's a black for every outfit, occasion, and mood! 

Whatever your choice, you can look "pretty in black," look "cool in black," or "make a fashion statement."   Hope you enjoy a bit of black today!  --Sharyl

----------------------------------------------------------------------------------------

P.S.  Please take note of the new page on the menu regarding the Fall-Preview Sale.   Even if you are not a retailer, there is a slide show of my newest fall jewelry there if you would like to take a look!   Thanks!


Monday, July 25, 2011

Crystals delight!


In the past, the crystals I worked with were the high quality synthetic or glass variety.  They are created and cut to provide sparkle and a gemstone look to jewelry. 


Recently, however, I received a special request for natural, raw, rough cut,  and pointed crystals.   


My first job to tackle was to locate the crystals themselves.   I shopped around locally, and only found two clear, large ones at first.  They were a bit larger and "rougher" than I had intended (see below), but since I had already shopped around without prior success, I bought them, and decided to keep looking further.   


An additional challenge awaited me, as the kind of wire designs I typically did wasn't going to work with these crystals.   


  • The two I had found did have holes drilled in them, but horizontally (more or less) rather than vertically.  
  • These quartz crystals were certainly rough in texture, not smooth. 
  • They were asymmetrical in form.   

    So I went to work researching how to wrap a natural crystal of this type.   After a couple of practice tries with cheap wire and a rock from my garden, I gave it a try with the crystals I had purchased.

               
    I blended more traditional crystal wrapping techniques with my own "looser" interpretation 
    in these first two pieces.


    In my continued search, I found a few smaller, smooth-cut rose quartz pieces at local bead shops, and decided to snatch those up.   Not quite what my customer had in mind, I suspected, but I knew I could make something from them.


    I made a small necklace from one of the beads (not shown), and the others were incorporated into these works:


    The rose quartz appears as an accent bead 
    to the larger work in each of these.

    Finally, I ordered several crystals online.   


    I liked the color of this pointed tangerine-colored quartz crystal.


    This large, smooth-cut, pointed rose quartz, 
    had no drilled holes, 
    so the wire wrapping had to be especially close 
    to the crystal.  
    In order to achieve that, 
    I used higher gauge (thinner) wire.


    The last was a small piece of 
    amethyst-colored crystal, 
    which now hangs from a wire design and dainty chain.

    I still have a few crystals left, but have set them aside for a while.   I admit, I still find them challenging to work with so will wait to see what demand there is for them.  I did enjoy incorporating the smaller, more affordable, crystals into pieces with other materials and will be likely to continue doing that in the future. 

    Working with these crystals was a learning experience for me.   If anyone reading has experience working with natural crystals in jewelry design, your comments, experiences, and expertise are always welcome here!   --Sharyl


    P.S.  I have a few of these crystals on the necklace page of my website, Sharyl's Jewelry, and will soon post more.   You can also find examples of wire-wrapped stones there.